Shakeshakee

D.I.Y Striped Picnic Blanket

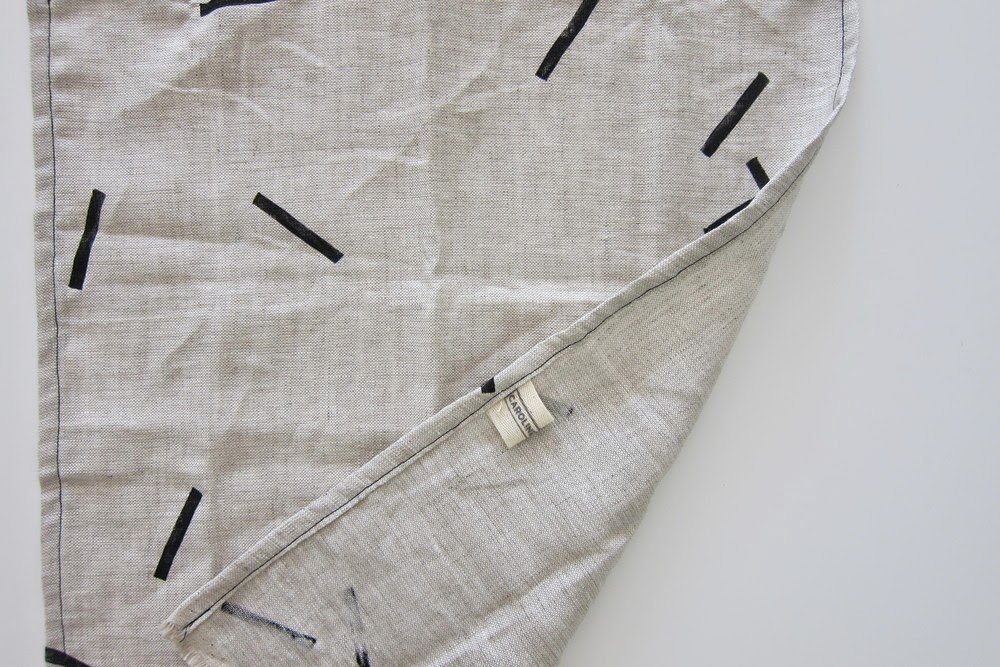
Its been getting all kinds of sunny here in L.A & I've been having picnic blankets on my mind. Particularly Caroline Z Hurley's minimalistic linen designs.


She has so many designs to go goo goo over but this sprinkled look 
won me over & hello0o! Totally DIYable. Perfect spring project!

Materials
+ 2 Russet Potatoes
+ Thin Paint Brush
+ Fabric Paint
+ 2 Hours


Steps
#1. Make a potato stamp! I used a knife and a potato peeler to get that 
perfect smooth stripe!
#2. Practice stamping onto a paper towel ( The potato slid a ton on paper).
3. Lay your dropcloth onto a smooth surface.
4. Stamp away with your fabric paint.
5. Once you finish you will notice that some of your stamps aren't so full and dark. 
Thats were the paintbrush comes into play. I painted in whatever needed some fixing.
 So if your potato doesn't make a perfect print no worries, you can always fill it in later.


Now time to get this sprinkly blanket on some grass, sand, or dirt!


Cheers!
 Instagram // RSS

A Hex update


Things have been crazy busy since we opened up our Hex nail jewelry (my sister & I's) Etsy shop. Which is why I've been so tardy and absent on here. Trying to juggle blogging, the shop, school, and sleep (sleep is def a priority of mine) has been a challenge but most certainly an amazing one. Especially having had the opportunity to team up with some of our favorite nail artists. I've been admiring them for some time now and to be able to collaborate with them has been unbelievable to say the least. I've been on cloud nine ever since, and I ain't coming down.

One of the nail artists that was kind enough to represent our new line is Sarah from Chalkboard nails. She couldn't have done a more amazing job! She showed off our charms with three magnificent styles. We love love love the gold leaf paired with our gold plated dolla sign. Go to her website to see what polishes she used and for more information on how to apply our charms. Also don't forget to enter the giveaway at the bottom of her post to win some free goodies for yourself!


The girls from Polishyoupretty did an amazing job with their "Buzz off" look. We love that they toped it off with our bee charm. Follow their blog to get the best reviews and tutorials on products. These girls know their stuff!


 & Lastly but definitely not least. The fabulous Jessica Washick of "U don't need a man, U need a manicure" did wonders with our unicorn, Fuck you, and Bitch charm. She always tops herself off, seriously don't know how she does it. 


We are so grateful to have had the chance to work with such prime ladies. Couldn't have asked for better! Thanks again!


Cheers!
 Instagram // RSS


Friday fingers // Ice cream nails


There’s something special about things with lots of detail. I try to add that to my nail art but in the simplest way possible. I think these ice cream nails are probably one of the easiest manis I’ve done that looks like it took me hours. Beware though, your going to one to pick off these little beads every second they’re still holding on. They’re the cutest curse out there.


Materials

#1. Base coat - Not shown
#2. Lillac lavender - Sally hanson 
#3. White polish or pen polish
#4. Caviar beads
#5. Nail glue
#6. Top coat - Not shown
#7. 30 minutes of your time


Step one: Apply your lavender polish. Then let them dry for 8 minutes or so.


Step two: Apply white dots where you would like the drip effect to end. Then move upward with your Pen polish and connect the dots. Do this step to all the fingers you want to be screaming with cream.


This is what your nails should look like when your done.


Step three: This is the fun part! Mix together the caviar colors you'd like to use for your sprinkles. Once you've gathered the perfect combo, apply nail glue and sprinkle on top. 


Step four: Seal the deal with a top coat & done! I added some charms from my sister and I's Etsy. One of them is an ice cream, and the other says "Good".


Cheers!
 Instagram // RSS


Related Posts Plugin for WordPress, Blogger...
Back to Top
Pin It button on image hover