nailart

Friday fingers // distressed denim


Navy is one of my favorite colors, its simple and never lets you down, even when your feeling blue. For this weeks friday fingers I thought I'd go casual and do acid denim nails. Let me just say this is way easier than bleaching a vest, or for that matter bleaching anything. Nothing beats going the easy way out.

Materials

#1. Navy nail polish 
#2. White nail polish
#3. Top coat
#4. Q-tips
#5. Acetone - not shown
#6. 20 minutes of your time
#7. & this of course


Step one: Once you've applied your base coat coat, apply the navy polish.


Step two: After waiting for your navy polish to dry, apply the white nail polish on the nails you'd like to have the acid wash look. I personally like the look of two denim nailsrather than all of them.


Step three:  Once the white coat is completely dry, dip aq-tip into acetone and softly rub areas of the white polish. If you end uprubing to hard you’ll go through both layers of polish. ** I used about threeq-tips for two nails because the white polish gathered and made it moredifficult to get a clean look.


Step four: Apply top coat and done! I decided to pizzaz it a little and added some charms from our Hex Etsy account!


Happy casual friday! 
 Instagram // RSS


Friday fingers // Ombre' nails


Ombre' nails are a great way to fade into things. So I thought this would be the perfect way to begin February! This mani is actually pretty easy to achieve. I must say that the hardest part when doing these, was the fact that I got a wedgie mid way. Wet nails and wedgies are a terrible mix.

Supplies


#1. Base coat
#2. Revlon Bare bones 300
#3. Pink polish
#4. Make up sponge
#5. Top coat


Step one: Apply your base coat and base color. Let them dry completely. If you touch it and your finger print shows, they're not ready.

make a gif image

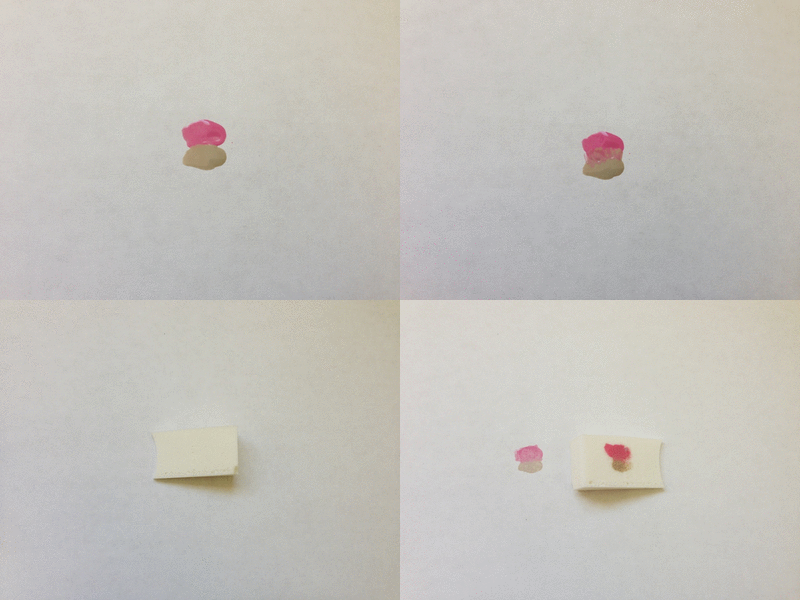
Step two: On a paper, apply the pink and gray polish. Then you can either mix the two colors with a toothpick or place the sponge over the two colors and slightly move the sponge up and down.


Step three: Before dabbing the sponge onto your nail make sure the pink polish is on top (I can't tell you how many times I almost did a switcharoo on accident). Then rock the sponge back and forth. If you want more of a pink hue dab the sponge onto some pink and back onto your nail.


Step five: Top coat them & done. I added a wee bit of glitter on my ring finger to give it some pizzaz. Although it can hardly be seen..


Cheers!
 Instagram // RSS


Related Posts Plugin for WordPress, Blogger...
Back to Top
Pin It button on image hover