Its been getting all kinds of sunny here in L.A & I've been having picnic blankets on my mind. Particularly Caroline Z Hurley's minimalistic linen designs.
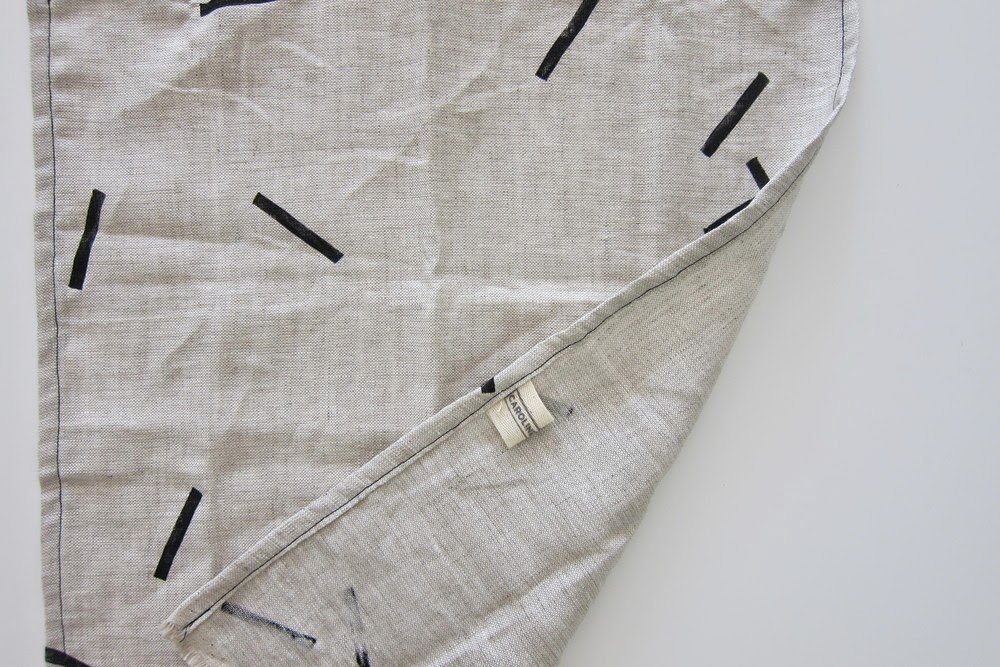
She has so many designs to go goo goo over but this sprinkled look
won me over & hello0o! Totally DIYable. Perfect spring project!
Materials
+ 2 Russet Potatoes
+ Thin Paint Brush
+ Fabric Paint
+ 2 Hours

Steps
#1. Make a potato stamp! I used a knife and a potato peeler to get that
perfect smooth stripe!
#2. Practice stamping onto a paper towel ( The potato slid a ton on paper).
3. Lay your dropcloth onto a smooth surface.
4. Stamp away with your fabric paint.
5. Once you finish you will notice that some of your stamps aren't so full and dark.
Thats were the paintbrush comes into play. I painted in whatever needed some fixing.
So if your potato doesn't make a perfect print no worries, you can always fill it in later.

Now time to get this sprinkly blanket on some grass, sand, or dirt!
Cheers!


