
Oh yes, here I go again with the surprise balls. I can't help it they're just so fun! My first attempt was a little eggy and awkward shaped but it still created some amazing smiles. Some of you know that I'm completely in love with snail mail. It's one of the few simple things that are so thoughtful. This year I'll be sending my love via heart surprises!
Supplies

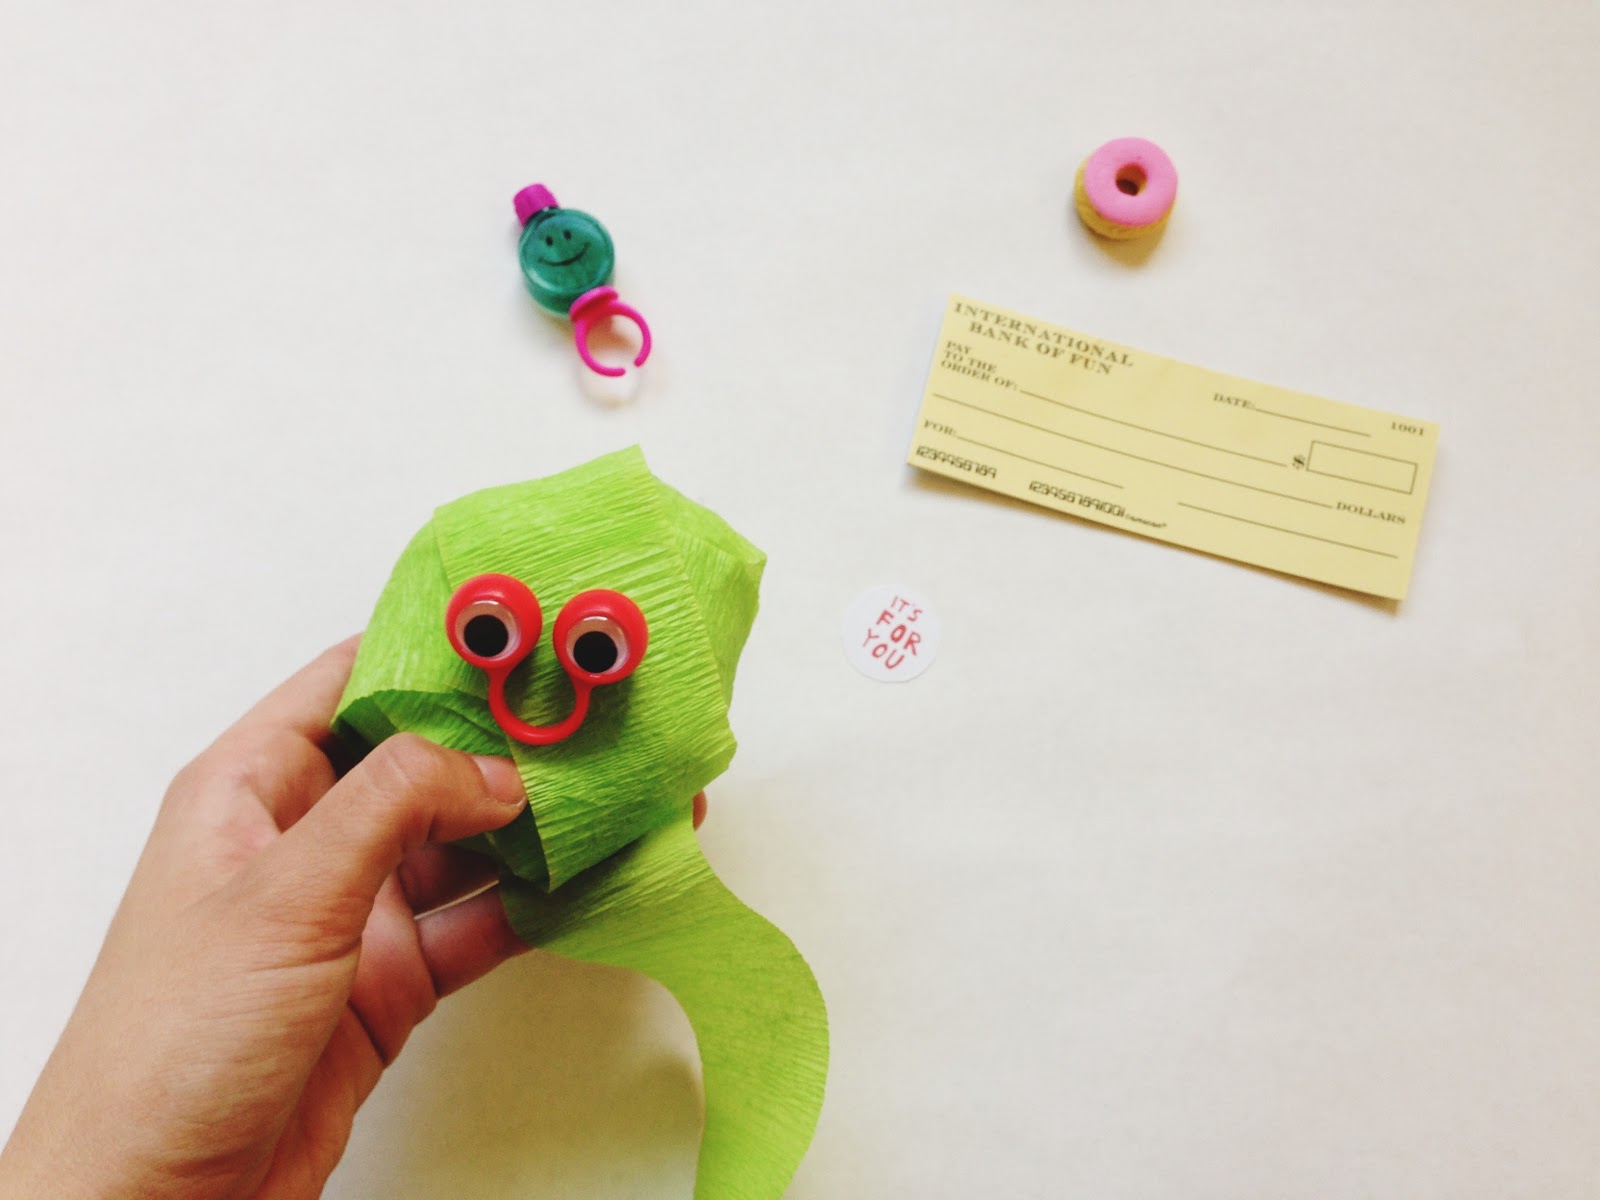
#1. One red streamer
#2. About six or so goodies
#3. Tape (not shown)
#4. paper (not shown)
#5. Scissors (not shown)
#6. 15 minutes of your time

Step one: Start by rolling in your first item.

Step two: Followed by your second. What you will do from now is move the streamer in a V formation.


Step three: I found that placing the treats at the point of the heart made it easier to get the shape I wanted. If the top needs more volume then add it there.


Step four: In order to make sure you get that heart shape, twist the streamer and give that heart a wedgie. I did this a good three times or so.


Step five: Cut the streamer and tape to secure.

Step six: Make an arrow to send it off with a message!

Step seven: place the two pieces between the streamer.

Once I finished up all of my hearts, I plan on placing them in a box, and sending them off. I think it would be sweet to find a box sitting outside with one of these. dont you?
Cheers!


