I've always admired the bandana pattern but have been intimidated to try it on my nails. Luckily it wasn't too terrifying, but I would recommend using Sally Hansons nail art pen. If you aren't satisfied you can easily wipe it off, making it one million times easier and less stressful. Also last reminder on the giveaway which can also be found below. I'll be emailing the winners tonight at 12:00am.
Supplies

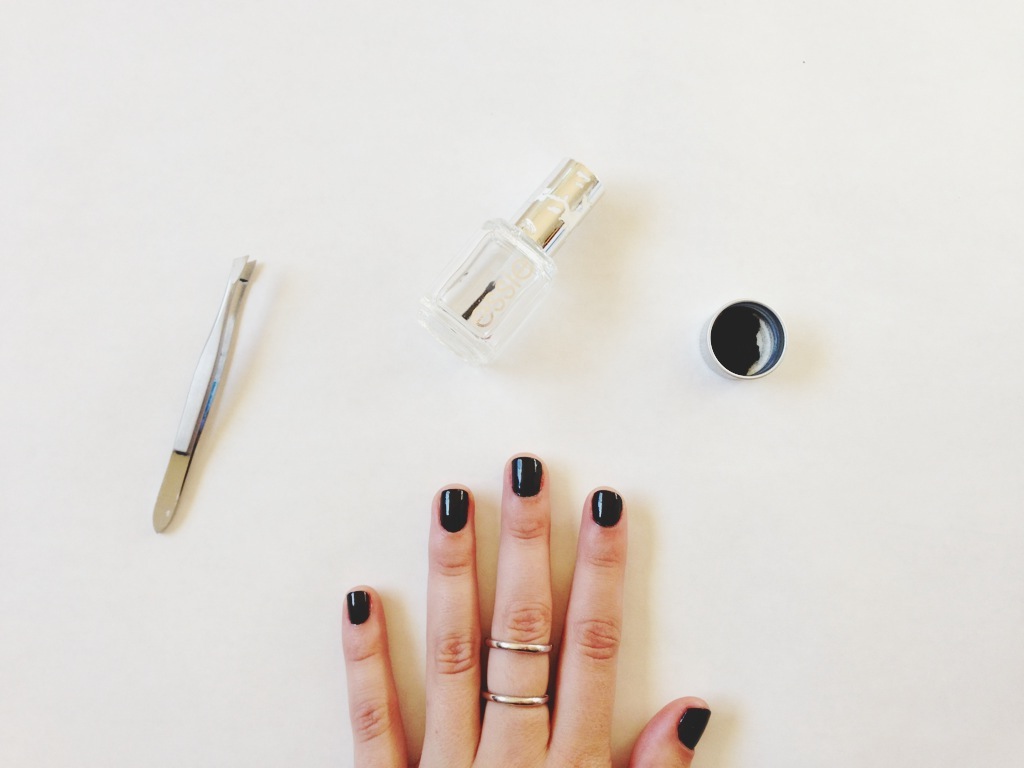
#1. Top coat
#2. Red polish // Essie's Russian Roulette //
#3. White nail art pen
#4. 40 minutes of your time

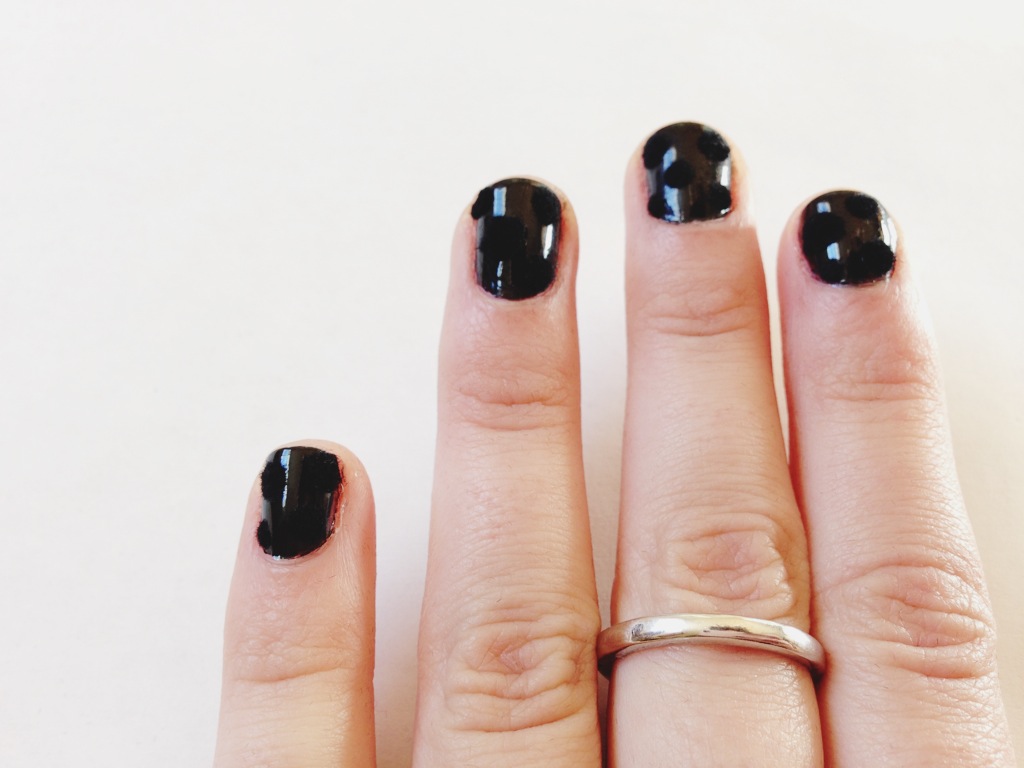
Step one: Paint your nails red & wait 6 mins for nails to dry.

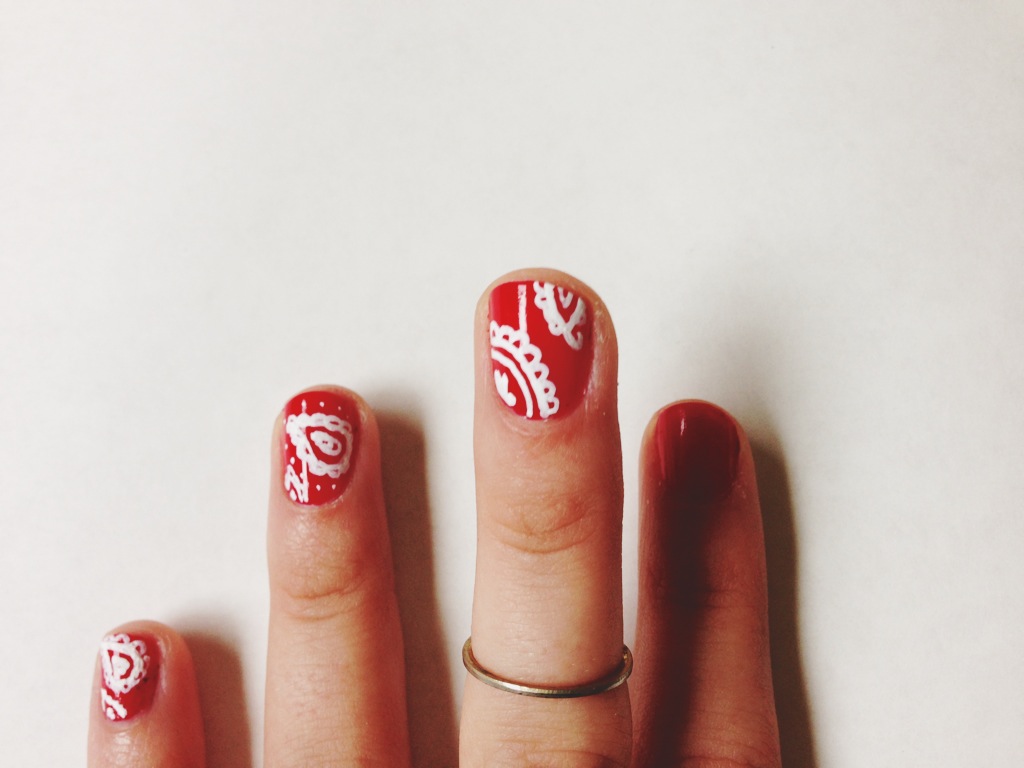
Step two: In order to get the design, start off with a pear, Hersey kiss type of shape.

Step three: Then slowly make half circles around the shape until it is completely covered.

Step four: Fill in the middle of the design with the same pear shape however this time you will leave two circles in the middle. To give it some pizzaz I added dots. You can continue this design to the rest of your nails or try out different shapes.


Step five: To give it variety, paint a curved line across. Then outline it with the same half circle design that gives it that paper dolly look. Continue doing these steps with the rest of your nails. Mix up the designs! The following pictures are other designs I played with but they all are created by the previous steps.


Step six: Add top coat & done. Remember to add another coat the day after you manicures! That way they last longer.


Cheers!